How to Install Microsoft Clarity on your Wordpress Website
Hello guys, in this tutorial I show you how to install Microsoft Clarity on your Wordpress website.
I only recently discovered Microsoft Clarity, but it is one of the best free marketing tools I have discovered.
What is Microsoft Clarity?
Clarity is a free analytical software tool, it plugs into your website to track how people visually interact with your website.
It has two major features:
These offer extremely informative insights into how people are using & interacting with your website.
This is Microsoft Clarity.
Steps to Install Microsoft Clarity on Wordpress
Good news, this is one of the easiest installations out there! I think it took me about 3 minutes to install Clarity on my Wordpress website & it should take you about the same.
1. Install the Microsoft Clarity Wordpress Plugin
Microsoft have developed a free plugin, that makes installing Clarity super easy.
Simply search “Clarity” inside of Wordpress plugins & the software will appear.
Download this plugin to your Wordpress website.
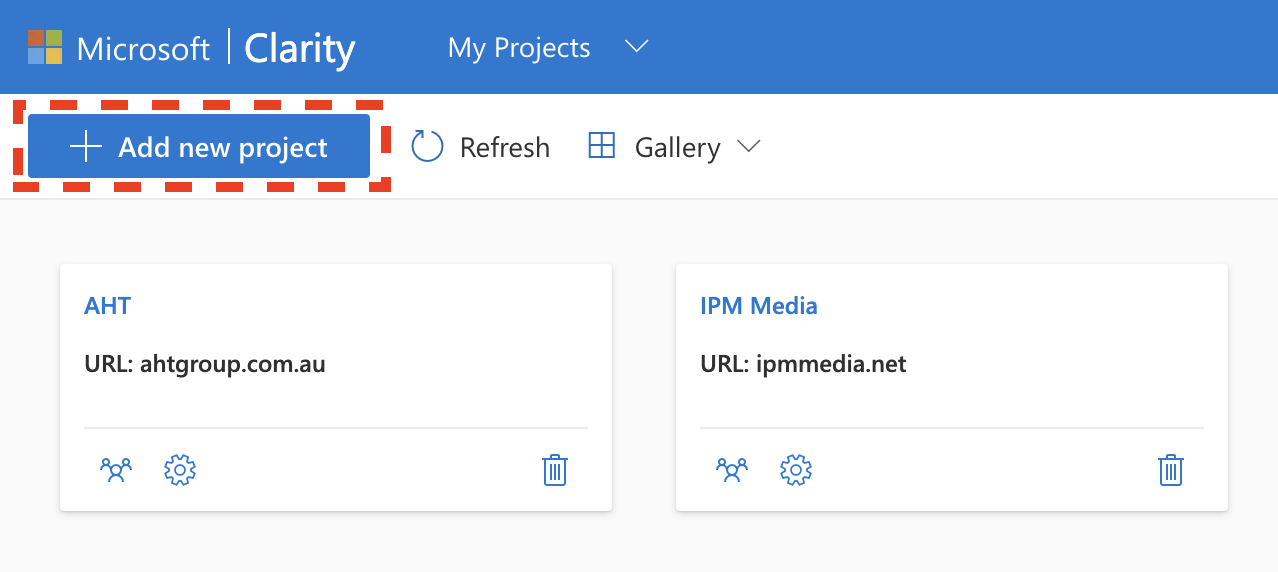
2. Create a New Project inside of Clarity
Now we need to go Clarity, sign in to your account & create a new project.
Microsoft have made this super easy, you just need to give them your:
Project name
Domain
Industry
Once you’ve done that, you’re pretty much set!
Create a new project inside of Microsoft Clarity
3. Copy your Clarity Project ID into Wordpress
Now head to the Settings inside of your Clarity project. You should be able to find a Project ID.
Copy this ID & paste it inside of the Clarity Wordpress plugin. Hit save & you’re done!
You’ve no successfully installed Microsoft Clarity on your Wordpress website.
Find your Clarity Project ID
Microsoft Clarity Summary
I told you, this is the easiest tutorial ever.
I cannot tell you how much value Microsoft Clarity has brought to me, it really is one of the best digital marketing tools.
It helps me visually understand how my websites are performing & what changes need to be made.
If you need more help, I filmed this video tutorial on how to install Clarity on your Wordpress website.


